
To make your own herbal salves and balms, start by gathering clean jars, herbal materials, and carrier oils. Prepare and infuse herbs into oils using heat or cold methods, then melt wax or butters with your oils to achieve the desired consistency. Pour the mixture into containers and let it cool and solidify. Customize scents with essential oils, label your creations, and store them in a cool, dark place. If you keep exploring these steps, you’ll discover how to create perfect herbal remedies tailored just for you.
Key Takeaways
- Gather clean jars, herbs, carrier oils, and beeswax; prepare herbs through chopping or crushing for infusion.
- Choose base oils and solid ingredients like beeswax to customize texture and properties of your balm.
- Melt ingredients gently using a double boiler, then pour into containers and allow to set fully.
- Add essential oils and botanicals for fragrance and therapeutic benefits; label and store in a cool, dark place.
- Troubleshoot by adjusting wax-to-oil ratios, refining recipes, and ensuring sterile conditions for long-lasting remedies.
Gathering Supplies and Ingredients
Before you begin making your own salves and balms, it is vital to gather all the necessary supplies and ingredients. Start by collecting clean glass jars or tins to store your finished products. You’ll also need a double boiler or a heat-safe bowl and a saucepan to melt your base oils and waxes. Prepare your essential oils and herbal extracts, making sure they’re pure and high-quality. Don’t forget to have measuring spoons and a kitchen scale to be precise with your ingredients. You’ll also want a spatula or spoon for mixing and stirring. Finally, gather your carrier oils, beeswax, and any herbs or botanicals you plan to use. Having everything ready before you begin guarantees a smooth process, saving you time and preventing interruptions.
Selecting and Preparing Your Herbs

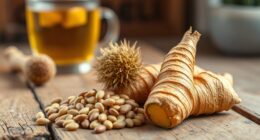
Choosing the right herbs is essential for creating effective salves and balms. Start by selecting herbs suited to your specific skin needs or ailments. Fresh herbs are ideal if you plan to use them immediately, but dried herbs work well for longer storage. Before preparing, always inspect your herbs for mold, dirt, or pests, and gently rinse fresh herbs to remove debris. For dried herbs, ensure they’re fully dried and free of dust. Chop herbs finely to increase surface area, which helps extract their beneficial compounds. If using fresh herbs, consider crushing or bruising them slightly to release oils and aromas. Proper selection and preparation guarantee your herbal remedies are potent, safe, and effective for topical use.
Infusing Oils With Herbal Benefits

Choosing the right herbs and oils is essential for creating effective infusions. You’ll want to pick herbs that match your desired benefits and oils that suit your infusion method. Once you’ve made your selections, using proper techniques guarantees you extract the most herbal goodness into your oils.
Selecting the Right Herbs
Selecting the right herbs is essential for creating effective salves and balms because different plants offer specific benefits. You need to choose herbs that match your intended purpose, whether it’s soothing inflammation, healing wounds, or moisturizing skin. For example, chamomile is gentle and calming, making it ideal for sensitive skin, while calendula provides anti-inflammatory properties perfect for irritated areas. Consider the herb’s potency and how well it infuses into the oil, as some herbs release their benefits more easily than others. Fresh herbs often contain more active compounds, but dried herbs are more convenient and have a longer shelf life. Always research each herb’s properties to ensure it aligns with your skin’s needs and avoid any potential allergies or sensitivities.
Choosing Suitable Oils
Infusing oils with herbs is a crucial step in creating potent salves and balms, as the quality of your base oil directly affects how well it transfers herbal benefits to your skin. When choosing oils, opt for those with a neutral scent and stable shelf life, like jojoba, almond, or olive oil. These oils penetrate the skin easily and won’t overpower the herbs’ aroma or properties. Consider the intended purpose of your remedy—if you’re making a soothing balm for dry skin, richer oils like coconut or shea butter work well. For more delicate or aromatic infusions, lighter oils such as grapeseed or apricot kernel are suitable. Always select high-quality, organic oils to maximize herbal efficacy and ensure your homemade remedies are safe and effective.
Proper Infusion Techniques
To effectively transfer herbal benefits into your oils, you need to follow proper infusion techniques. Begin by selecting fresh or dried herbs and place them in a clean jar. Cover the herbs completely with your chosen oil, ensuring there’s enough to submerge all plant material. For a gentle infusion, heat the jar in a double boiler on low heat for 2-3 hours, stirring occasionally. Alternatively, for a cold infusion, leave the jar in a warm, dark spot for 4-6 weeks, shaking it daily to release the herbs’ properties. Strain the mixture through cheesecloth or a fine sieve to remove plant material. Proper infusion guarantees the herbal compounds are fully extracted, resulting in a potent, aromatic oil perfect for your salves and balms.
Choosing the Right Base for Your Balm
When selecting a base for your balm, you’ll want to take into account different types of oils and their textures. Decide whether a solid or liquid base suits your needs, and think about adding beeswax or emulsifiers to achieve the right consistency. Choosing the right combination ensures your balm is effective and easy to apply.
Types of Base Oils
Choosing the right base oil is essential for creating effective and soothing salves and balms. Different oils offer unique properties that can enhance your remedy’s effectiveness. Here are four common options:
- Jojoba Oil – Closely resembles skin’s natural sebum, absorbs well, and is suitable for all skin types.
- Sweet Almond Oil – Lightweight, nourishing, and ideal for sensitive or irritated skin.
- Coconut Oil – Antimicrobial, moisturizing, and solidifies at cooler temperatures, providing a rich texture.
- Grapeseed Oil – Light, non-greasy, and packed with antioxidants, making it great for oily or acne-prone skin.
Select your base based on skin type, desired consistency, and therapeutic properties to craft a balm that’s both effective and enjoyable to use.
Solid vs. Liquid Bases
Deciding between solid and liquid bases is essential because it influences your balm’s texture, application, and stability. Solid bases, like beeswax or cocoa butter, create firm, moldable balms ideal for targeted application. Liquid bases, such as oils or butters, produce softer, spreadable textures perfect for daily use. Think of these options like ingredients in a recipe:
| Base Type | Texture | Best For |
|---|---|---|
| Solid | Firm, moldable | Lip balms, healing salves |
| Semi-solid | Soft, pliable | Body butters, massage balms |
| Liquid | Smooth, spreadable | Massage oils, facial balms |
Choose solid for stability and shape, liquid for ease of application. Mixing both can balance firmness with spreadability.
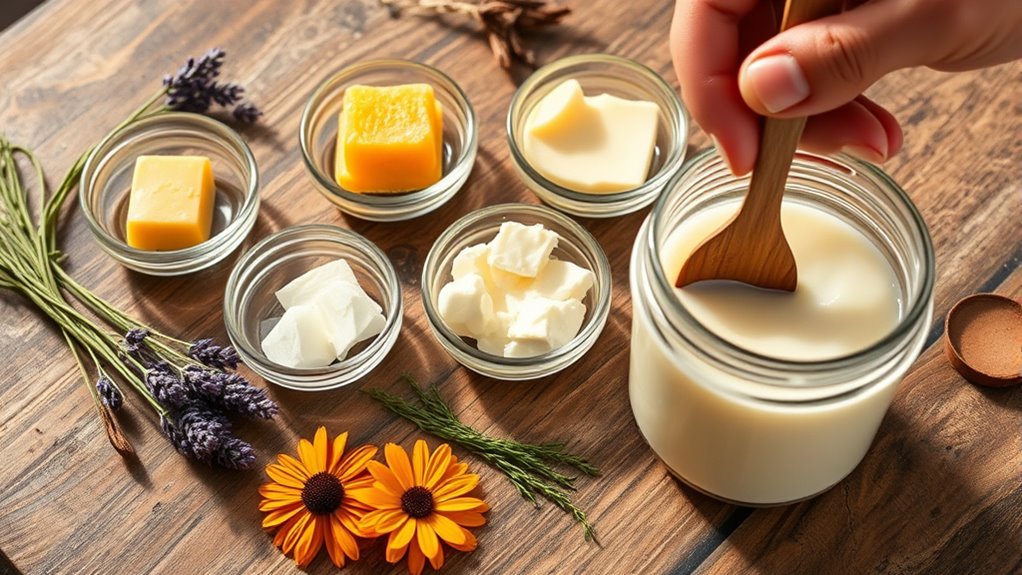
Adding Beeswax or Emulsifiers
Adding beeswax or emulsifiers is a key step in shaping the texture and stability of your balm. Beeswax helps solidify your mixture, giving it a firm, long-lasting consistency, while emulsifiers enable water and oils to blend smoothly. To choose the right base, consider these factors:
- Desired Texture: Beeswax creates a firm, balm-like consistency; emulsifiers produce creams or lotions.
- Ingredients Compatibility: Ensure your emulsifier works well with herbal oils and extracts.
- Application Area: For areas needing a thicker barrier, beeswax is ideal; for more absorbent formulations, emulsifiers are better.
- Storage Stability: Beeswax offers natural preservation; emulsifiers can extend shelf life by maintaining uniformity.
Select based on your final product’s purpose and texture preferences for ideal results.
Combining and Melting Ingredients
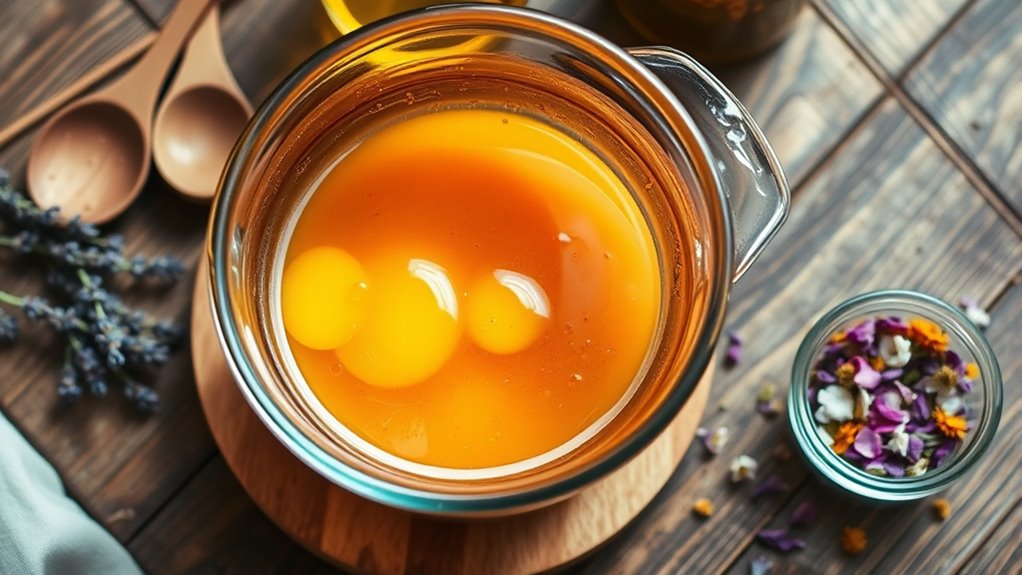
To effectively combine and melt ingredients for your salves and balms, start by setting up a double boiler or a heat-safe bowl over a pot of simmering water. This gentle heat prevents burning and guarantees even melting. Add your solid ingredients first, like beeswax or butters, and stir occasionally until fully melted. Once these are liquefied, slowly incorporate your liquid oils or herbal infusions, stirring continuously to blend everything smoothly. Keep the heat low to avoid overheating, which can degrade sensitive ingredients. Use a thermometer if needed to maintain the ideal temperature, usually around 160-170°F (70-75°C). When all components are combined and melted, remove from heat and prepare to pour into your containers promptly, as the mixture will begin to set as it cools.
Pouring and Setting Your Salve or Balm

Have you prepared your containers and made certain your mixture has cooled slightly? Now, it’s time to pour your salve or balm with care. First, verify your mixture is still fluid but not hot enough to melt your containers. Then, follow these steps:
Ensure your mixture is cooled slightly before carefully pouring into containers.
- Slowly pour the mixture into your prepared containers, avoiding spills.
- Leave a small space at the top to prevent overflow.
- Gently tap the containers on a flat surface to eliminate air bubbles.
- Allow the salve or balm to cool at room temperature until fully solidified, which may take several hours or overnight.
Patience here ensures a smooth, even finish. Once set, you can label and store your homemade remedy.
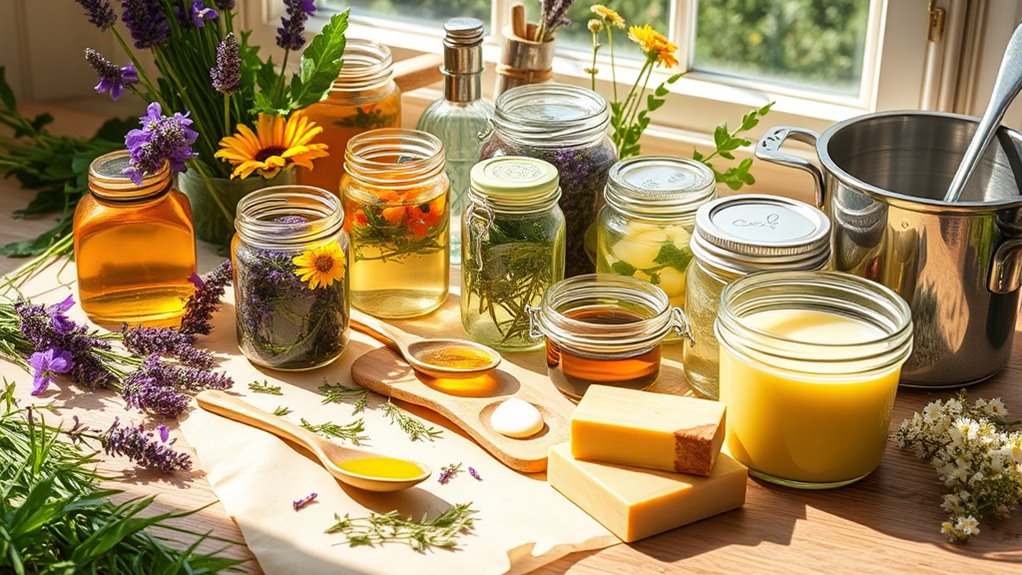
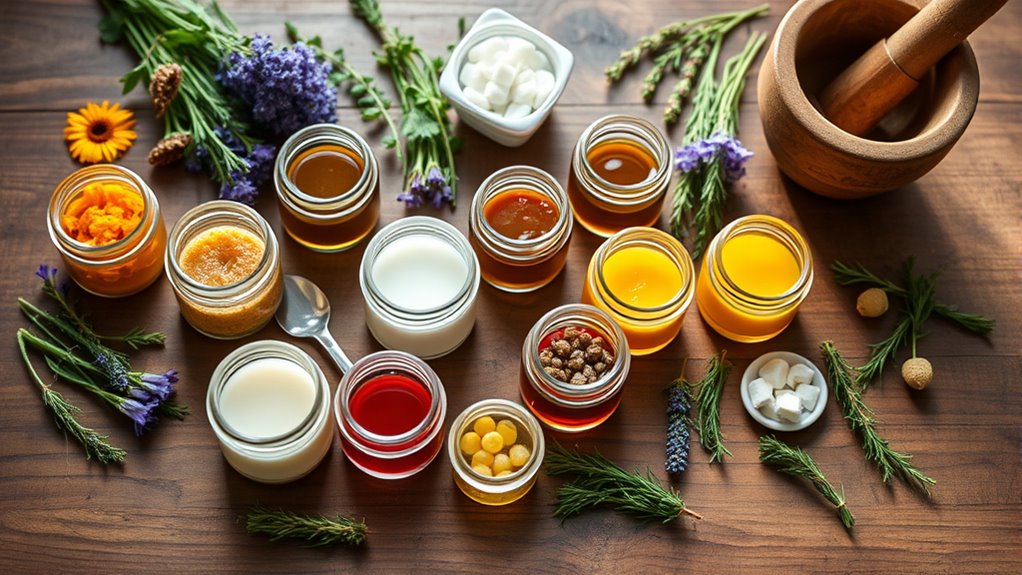
Customizing Scents and Additives
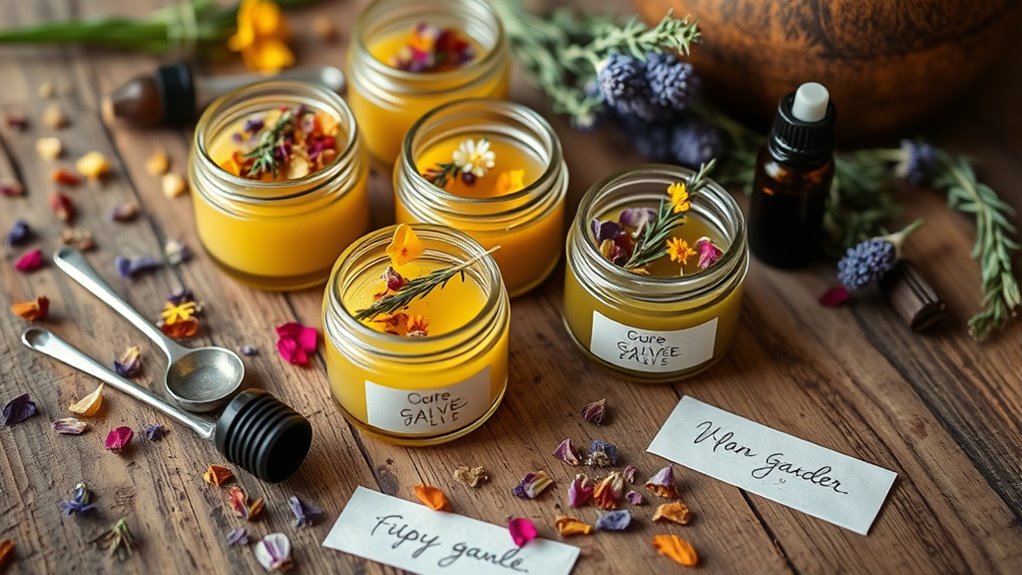
Once your salve or balm has set, you can begin customizing it with scents and additives to enhance its therapeutic qualities or fragrance. Adding essential oils not only creates a pleasing aroma but can also boost healing properties. You might also incorporate herbs, beeswax, or vitamin E for added benefits. Start with small amounts and test the scent before mixing thoroughly. Remember, some additives can affect the consistency, so adjust accordingly.
| Additive Type | Examples |
|---|---|
| Essential Oils | Lavender, peppermint, tea tree |
| Herbs and Powders | Calendula, chamomile, turmeric |
| Extras | Vitamin E, beeswax, cocoa butter |
Storing and Labeling Your Homemade Remedies

Proper storage and clear labeling are essential to keep your homemade salves and balms effective and safe. Proper storage prevents contamination, preserves potency, and extends shelf life. Use airtight glass jars or tins to protect your remedies from air and light. Keep them in a cool, dark place away from heat sources to prevent spoilage. Label each container with the name, date of creation, ingredients, and any special instructions. This helps you track freshness and avoid confusion. Consider these four key points:
- Use durable, clearly written labels for easy identification.
- Store remedies in temperature-stable environments.
- Keep different formulations separate to prevent cross-contamination.
- Regularly check for signs of spoilage, like changes in smell or texture.
Following these steps ensures your remedies stay safe, effective, and enjoyable to use.
Tips for Troubleshooting and Improving Your Recipes

Troubleshooting and improving your homemade salves and balms often involves careful observation and adjustments. If your mixture isn’t setting properly, check your ratios of wax to oil—adding more wax can help solidify it. If the texture feels greasy or oily, you might need to reduce the liquid oils or increase the beeswax. When scent or potency isn’t as strong as you’d like, experiment with adding more herbal infusions or essential oils, but do so gradually to avoid overpowering. If your product develops an off smell or mold, verify your containers are sterilized and your ingredients are fresh. Keep detailed notes of each batch, noting changes and results, so you can refine your process over time. Patience and small tweaks lead to better, more effective remedies.
Frequently Asked Questions
How Long Do Homemade Salves and Balms Typically Last?
Homemade salves and balms usually last about 6 months to a year when stored properly. You should keep them in airtight containers in a cool, dark place to prevent spoilage. Check for signs like changes in smell, color, or texture before each use. Using clean utensils helps extend their shelf life. If you notice mold or off odors, it’s best to discard the product for safety.
Can I Substitute Store-Bought Herbs for Fresh Ones?
You can substitute store-bought herbs for fresh ones, but keep in mind it’s not always a one-to-one swap. Dried herbs tend to be more concentrated, so use less than you would fresh. Think of it as a double-edged sword—you get a longer shelf life but might lose some of that vibrant potency. Always start with a small batch to test how the herbs work in your remedy before scaling up.
Are There Any Safety Precautions for Sensitive Skin?
Yes, you should take safety precautions if you have sensitive skin. Always perform a patch test by applying a small amount of your herbal remedy on your skin and wait 24 hours to check for reactions. Use gentle, hypoallergenic ingredients and avoid known irritants. Start with small amounts, and consult a healthcare professional if you’re unsure about specific herbs. This helps prevent irritation and guarantees safe use.
How Do I Adjust Consistency for Different Uses?
To adjust consistency, start by modifying the amount of beeswax or carrier oil. For example, if you want a firmer salve, add more beeswax; for a softer balm, use extra oil. Test small batches first, melting ingredients together and letting them cool to gauge texture. This approach helps you customize your remedy for different uses, whether a solid ointment or a spreadable balm.
What Are Common Mistakes to Avoid During Preparation?
You should avoid overheating your ingredients, as this can degrade the herbs’ medicinal properties and cause separation. Don’t rush the infusion process; patience ensures better potency. Measure ingredients carefully to maintain proper ratios, and skip using contaminated utensils or containers to prevent bacteria growth. Also, don’t forget to test small batches first to fine-tune your recipe and avoid wasting materials on mistakes. Attention to detail keeps your remedies safe and effective.
Conclusion
With your newfound knowledge, you’re now equipped to craft salves and balms that could heal or soothe better than anything you’d find in stores. Remember, each batch is a labor of love and a proof to your creativity—your homemade remedies have the power to transform your wellness routine. So immerse yourself with confidence, experiment boldly, and watch as your herbal creations become your personal magic potions. Your journey to natural healing starts today—embrace it wholeheartedly!